How to Animate Characters in Unity using Mixamo Animations?
Introduction
As a part of my Game Development journey, I have been working on a Unity project to create a waypoint-based Traffic System. In doing so, I have come across the concept of animations in Unity which brought back memories of my days when I used to make digital animations using Blender Game Enginer and Mixamo by Adobe. Mixamo is an online platform owned by Adobe that provides a library of pre-built animations that can be used in games without requiring extensive manual work or advanced animation skills.
In this post, I will discuss the fundamentals of animating these characters as I have journeyed through learning Unity’s animation system by importing the Mixamo animations into Unity. In doing so, I have used the Animator component and the Animator Controller asset within Unity to handle multiple animations in a GameObject based on a State Machine approach.
What is an Animator?
This component has 5 properties:
- Controller: This property is used to assign the
Animator Controllerasset to theAnimatorcomponent. - Apply Root Motion: This property is used to apply the root motion of the character to the
Animatorcomponent. - Update Mode: This property is used to determine the update mode of the
Animatorcomponent. The update mode determines how theAnimatorcomponent updates the animations. - Speed: This property is used to set the speed of the animations.
- Layer Weights: This property is used to set the layer weights of the animations.
Out of these 5 properties, we will be using the Controller property to assign the Animator Controller asset to the Animator component. The rest of the properties are not required for the moment.
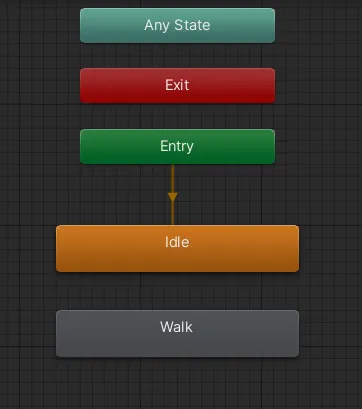
Using the animators Grid Pane as a visual interface, we can create, modify and connect animation states that we fetched from Mixamo. Add the downloaded animations from the Mixamo website to the Unity project and then drag and drop the animations into the animator’s grid pane.

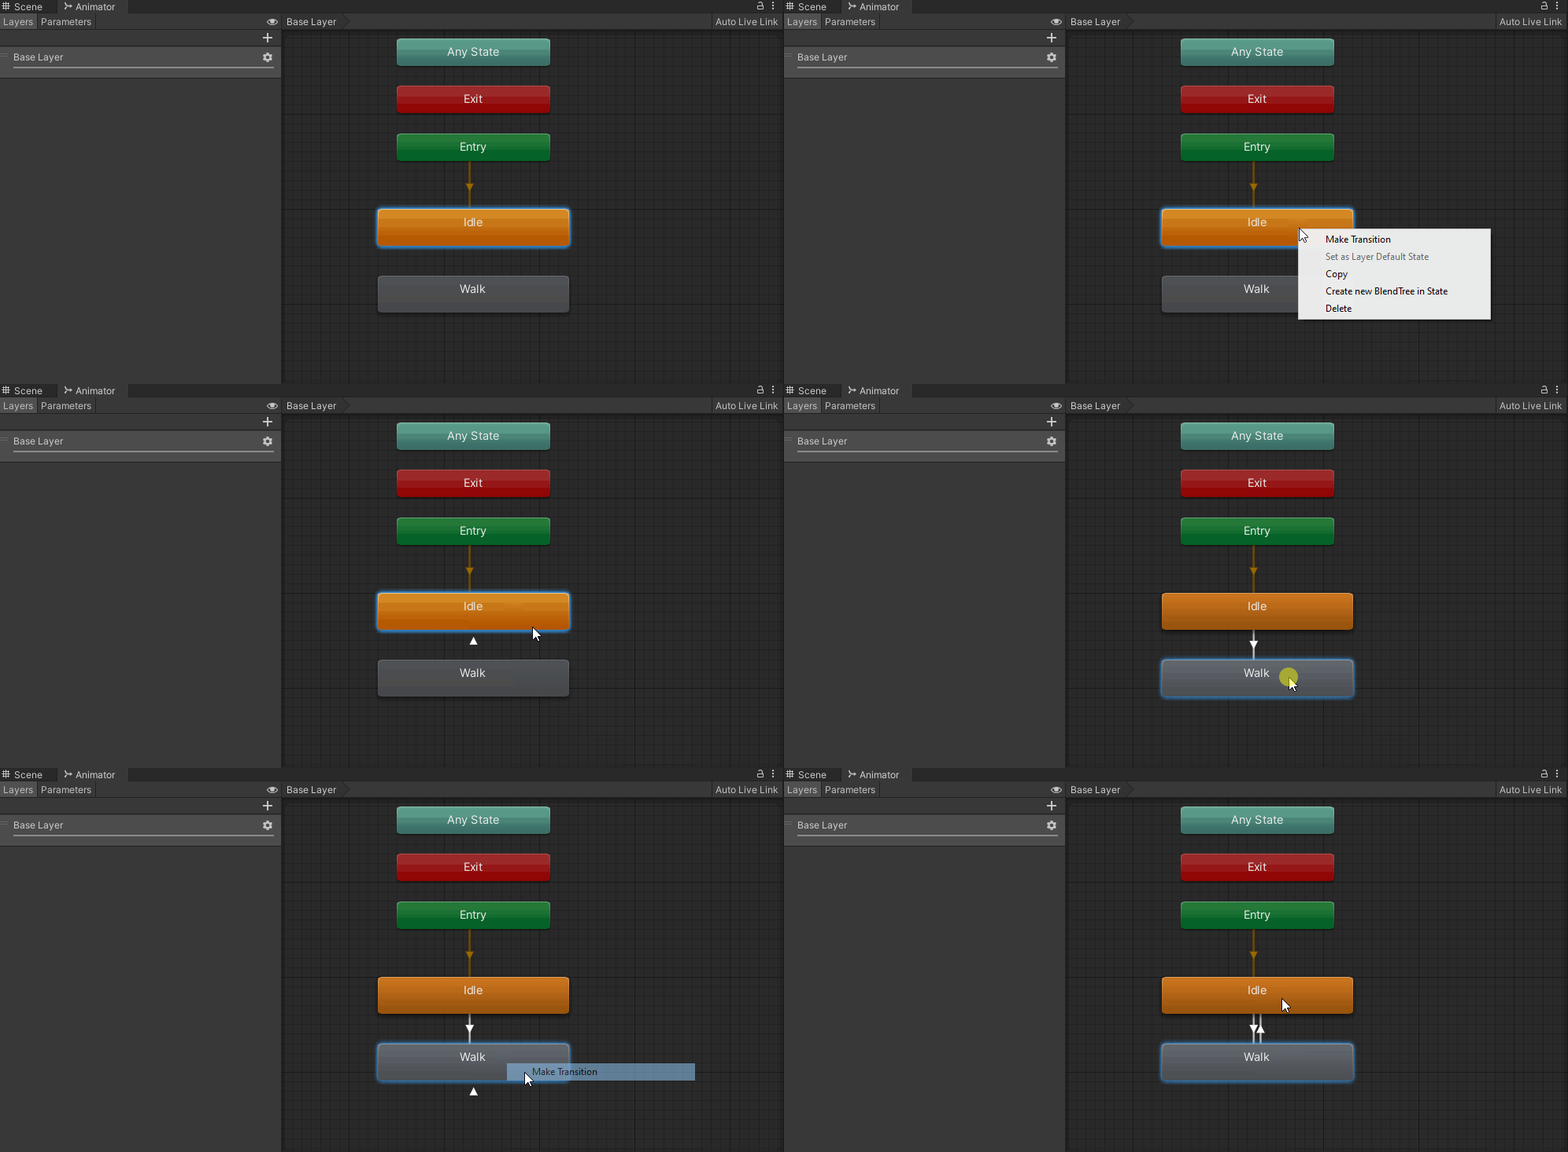
Once the animations are inside the Animator, it is easy to create transitions between them by right clicking on the animations and selecting Make Transition.

Idle, Walk and Run?
We need to make sure that the states should not undergo a full length of animation before transitioning to the next state. I certainly do not want to wait for almost the entire duration of the Idle or Walk animation to allow the transition to happen. To do so, we can change a couple of settings of both transitions to avoid the this issue:
- There’s a “Has Exit Time” setting that won’t allow a transition until the animation reaches a completion percentage. Unticking that setting on both transitions will make the animations more reactive.
Conditional transitions
Now how do we make the NPC transition between states? For instance, if the NPC is not moving, then the character animation state should be Idle. And if the NPC is moving, then the character animation state should logically be switched to Walk or Run depending on the magnitude of the velocity. If they stop, then the character animation state should be switched back to Idle.
Ofcourse, the answer is code! We write a script that will set the animator’s parameters to trigger the transitions between the animation states. We need to setup some trigger conditions or some other values to make sure that the transitions only happen when the conditions are met. For example, we can set the Is Walking state to be active only when the we press W key on the keyboard. And the Is Running state to be active only when we press Left Shift key with the W key.
The script references the animator component and updates the parameters we set in the animator component based on the conditions we define using code.
Steps
- Import the Mixamo animations into Unity. And check the
Loop Timeproperty of the animations to make sure that the animations are looped. This will continuously repeat the animation of the current state. - Create an Animator asset and add the animations to the Animator component.
- Setup parameters for transitions between the animation states.
- Unity allows 4 different types of parameters:
- Bool: A boolean value that can be either true or false. Based on the value of the parameter, the transition will occur or not.
- Int: An integer value. This implies that the transition will occur either when the value is greater than or less than the target value.
- Float: A floating point value. This implies that the transition will occur either when the value is greater than or less than the target value.
- Trigger: A trigger that can be either true or false.
- Unity allows 4 different types of parameters:
- Setup transitions between the animation states.
- Setup transition conditions between the animation states using the animator component.
- Create a script to update the animator component’s parameters based on the conditions we define.
End Result
Futuristic Additions
Now that I can have a way to animate the NPC, I can add some more features to the project. For instance, I can transition between multiple animation states based on the time elapsed or amke the NPCs fall based on collision detection? Fun stuff! But I will leave that for another post.